Creating Your Kubernetes Development Playground

Welcome back to our journey of mastering Kubernetes for MERN Stack Developers! In this section, we'll guide you through setting up your very own Kubernetes playground using Minikube on an Ubuntu VM.
Getting to Know Minikube and kubectl
What's Minikube? Minikube is like a mini version of Kubernetes that you can play with on your computer. It helps you learn and try out Kubernetes without bothering your computer too much.
- Official Documentation: If you're curious, you can explore more about Minikube in the official documentation.
Why Minikube? Minikube gives you a safe place to explore Kubernetes. It's like a training ground where you can practice without breaking anything important.
What's kubectl? (Command line tool) kubectl (pronounced cube control) is like your magic wand for talking to Kubernetes. It helps you tell Kubernetes what to do and check if it did it right.
Communicating with Kubernetes: Think of Kubernetes as a city with a control center. To interact with the city, you need a special tool. This tool is named kubectl. It's like a communicator that connects you to the city's control center using the Kubernetes API.
Official Reference: To delve deeper into kubectl, you can refer to the official Kubernetes documentation.
Basic Requirements for Local Kubernetes
Before you begin your Kubernetes journey, ensure your system meets these basic requirements:
2 CPUs or more
2GB of free memory
20GB of free disk space
An internet connection
A container or virtual machine manager like Docker, QEMU, VirtualBox, or others.
What's the Deal with Kubernetes Environments?
Kubernetes Development Environment: Imagine a special room where you create and test your toy models before showing them to the world. That's what a Kubernetes development environment is. It's your safe space for building and trying things out.
Kubernetes Production Environment: This is where the real toys go for their big show. It's like the stage where your apps perform in front of everyone. It's carefully set up, so everything goes perfectly.
Installing Minikube on Your Ubuntu VM
Follow these steps to set up Minikube on your Ubuntu VM:
Get Some Friends for Minikube: Your clubhouse needs some friends. Install the things Minikube likes using these secret commands:
 sudo apt-get update
 sudo apt-get upgrade
 sudo apt-get install curl
 sudo apt-get install apt-transport-https
 sudo apt-get install conntrack
Install Docker: Docker is a key player in the Kubernetes world. Let's get it on board:
 curl -fsSL https://get.docker.com -o get-docker.sh
 sudo sh get-docker.sh
 ls -l /var/run/docker.sock
 sudo usermod -aG docker $USER && newgrp docker
Install Minikube: Get Minikube ready for the fun stuff:
 curl -LO https://storage.googleapis.com/minikube/releases/latest/minikube-linux-amd64
 sudo install minikube-linux-amd64 /usr/local/bin/minikube
 sudo chmod +x /usr/local/bin/minikube
 minikube version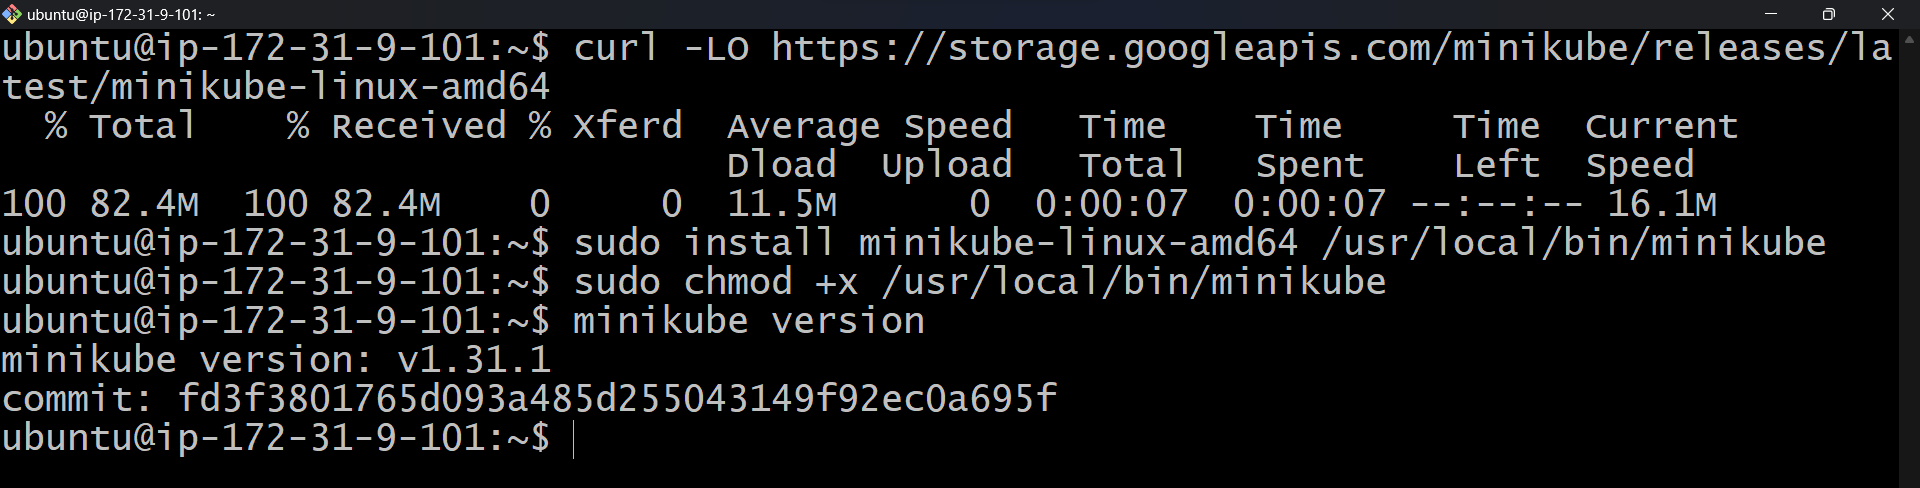
Bring kubectl Along: Your magic wand needs to come along too. Let's get kubectl:
 curl -LO "https://dl.k8s.io/release/$(curl -L -s https://dl.k8s.io/release/stable.txt)/bin/linux/amd64/kubectl"
 sudo mv kubectl /usr/local/bin/kubectl
 sudo chmod +x /usr/local/bin/kubectl
 kubectl version --client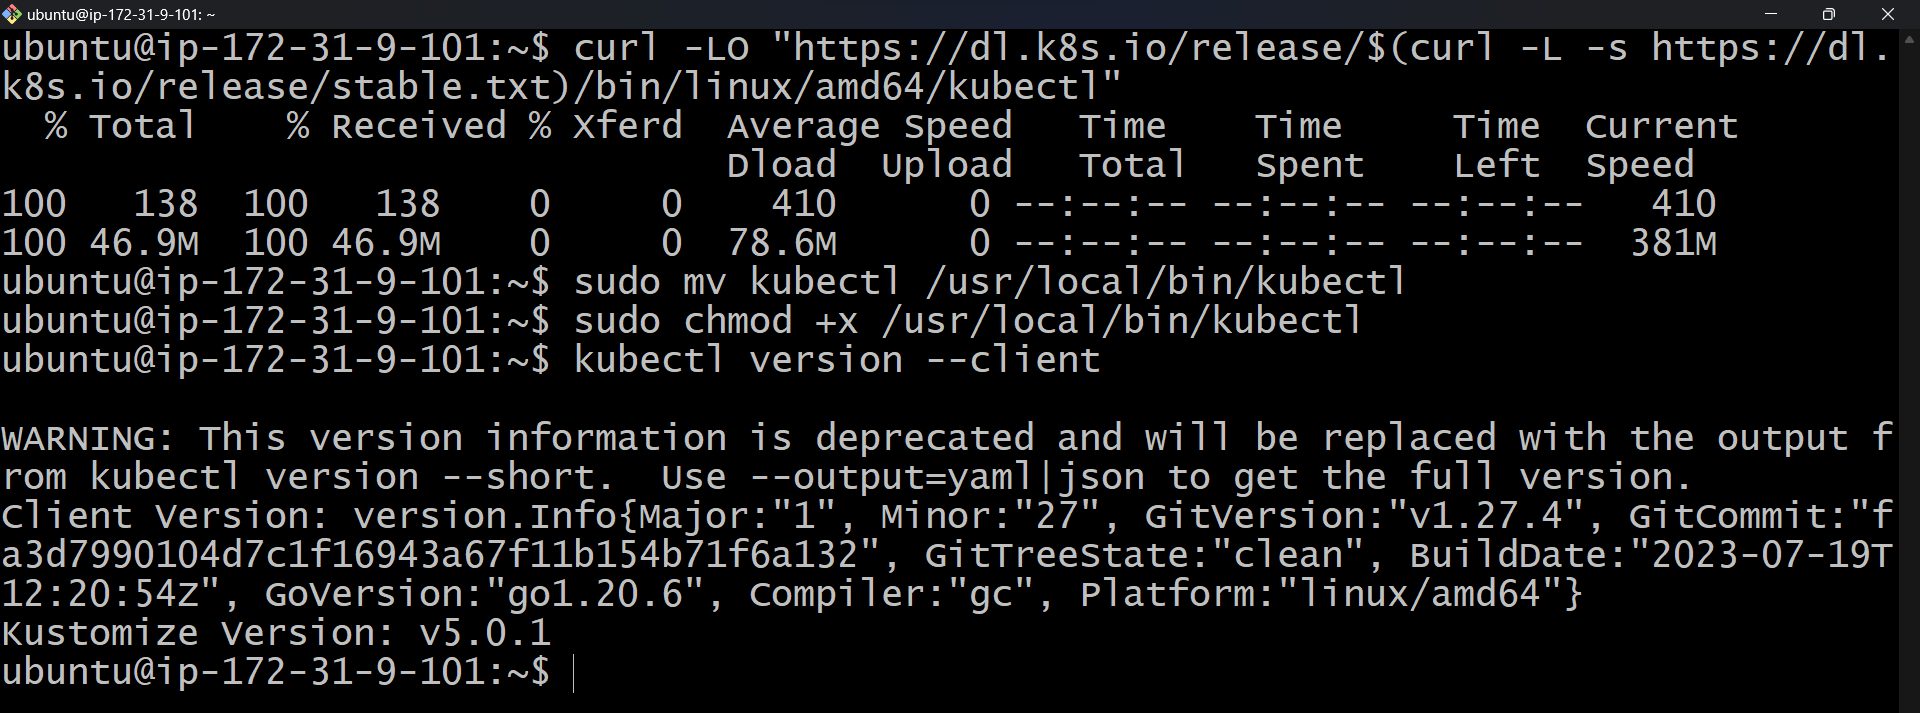
Turn on Minikube: Fire up Minikube using:
minikube start --driver=docker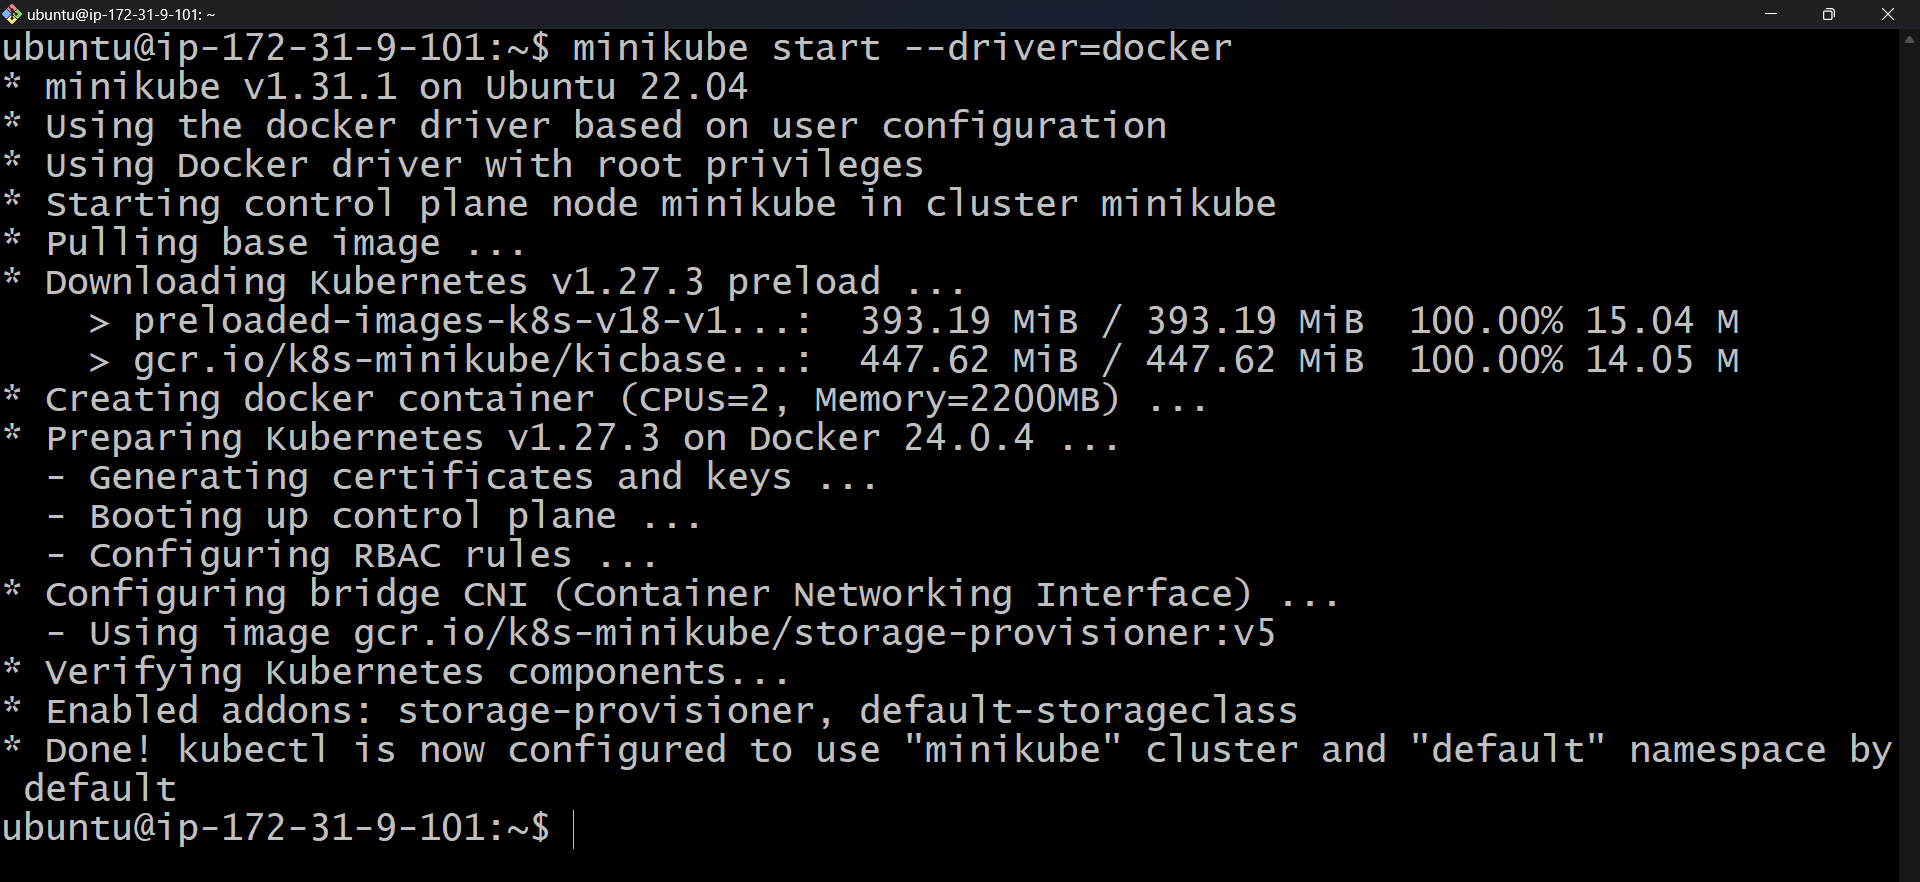
minikube status
kubectl cluster-info


Stopping Your Kubernetes Playground
Once you're done exploring and learning in your Kubernetes playground, it's important to know how to gracefully shut things down.
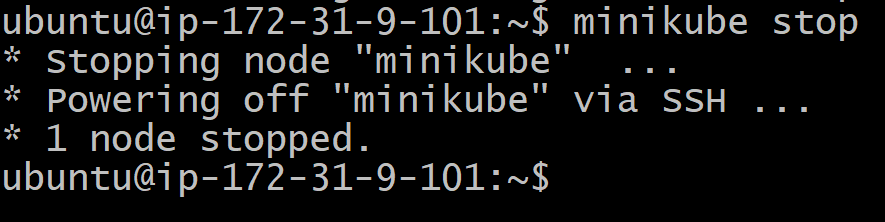
Stopping Minikube:
To stop Minikube, use the following command:
minikube stop
Stopping the Kubernetes Cluster:
To stop the entire Kubernetes cluster, you can do the following:
minikube delete

Wrapping Up
Remember, when you're not using your Kubernetes playground, it's a good practice to stop Minikube and the cluster to save resources and prevent any unexpected behaviours. You can always start them up again whenever you're ready to dive back into your Kubernetes journey.
In the next part of this series, we'll continue our exploration of Kubernetes by putting your MERN app into containers and unleashing its potential in the Kubernetes environment.
Stay tuned for Part 3, where we'll get hands-on with containerization and Kubernetes orchestration for your MERN application.
Exciting things are ahead on your path to mastering Kubernetes and enhancing your MERN skills!
And don't forget to connect with me on social media to stay updated with the latest tips, tutorials, and guides:
Connect with me on LinkedIn: shaikahmadnawaz
Follow me on Twitter: shaikahmadnawaz


