Ultimate Guide to File Upload & Download with AWS S3, React, Node.js
Building a File Upload and Download System with Node.js, Express, AWS S3, and React

Introduction
In today's digital world, file upload and download functionality is a common requirement for many web applications. In this guide, we'll walk through the process of building a robust file upload and download system using AWS S3 for storage, React for the frontend, and Node.js with Express for the backend. By the end of this tutorial, you'll have a solid understanding of how to implement file upload and download functionality in your own projects.
Prerequisites
Before we begin, make sure you have the following prerequisites in place:
Basic knowledge of JavaScript, React, and Node.js.
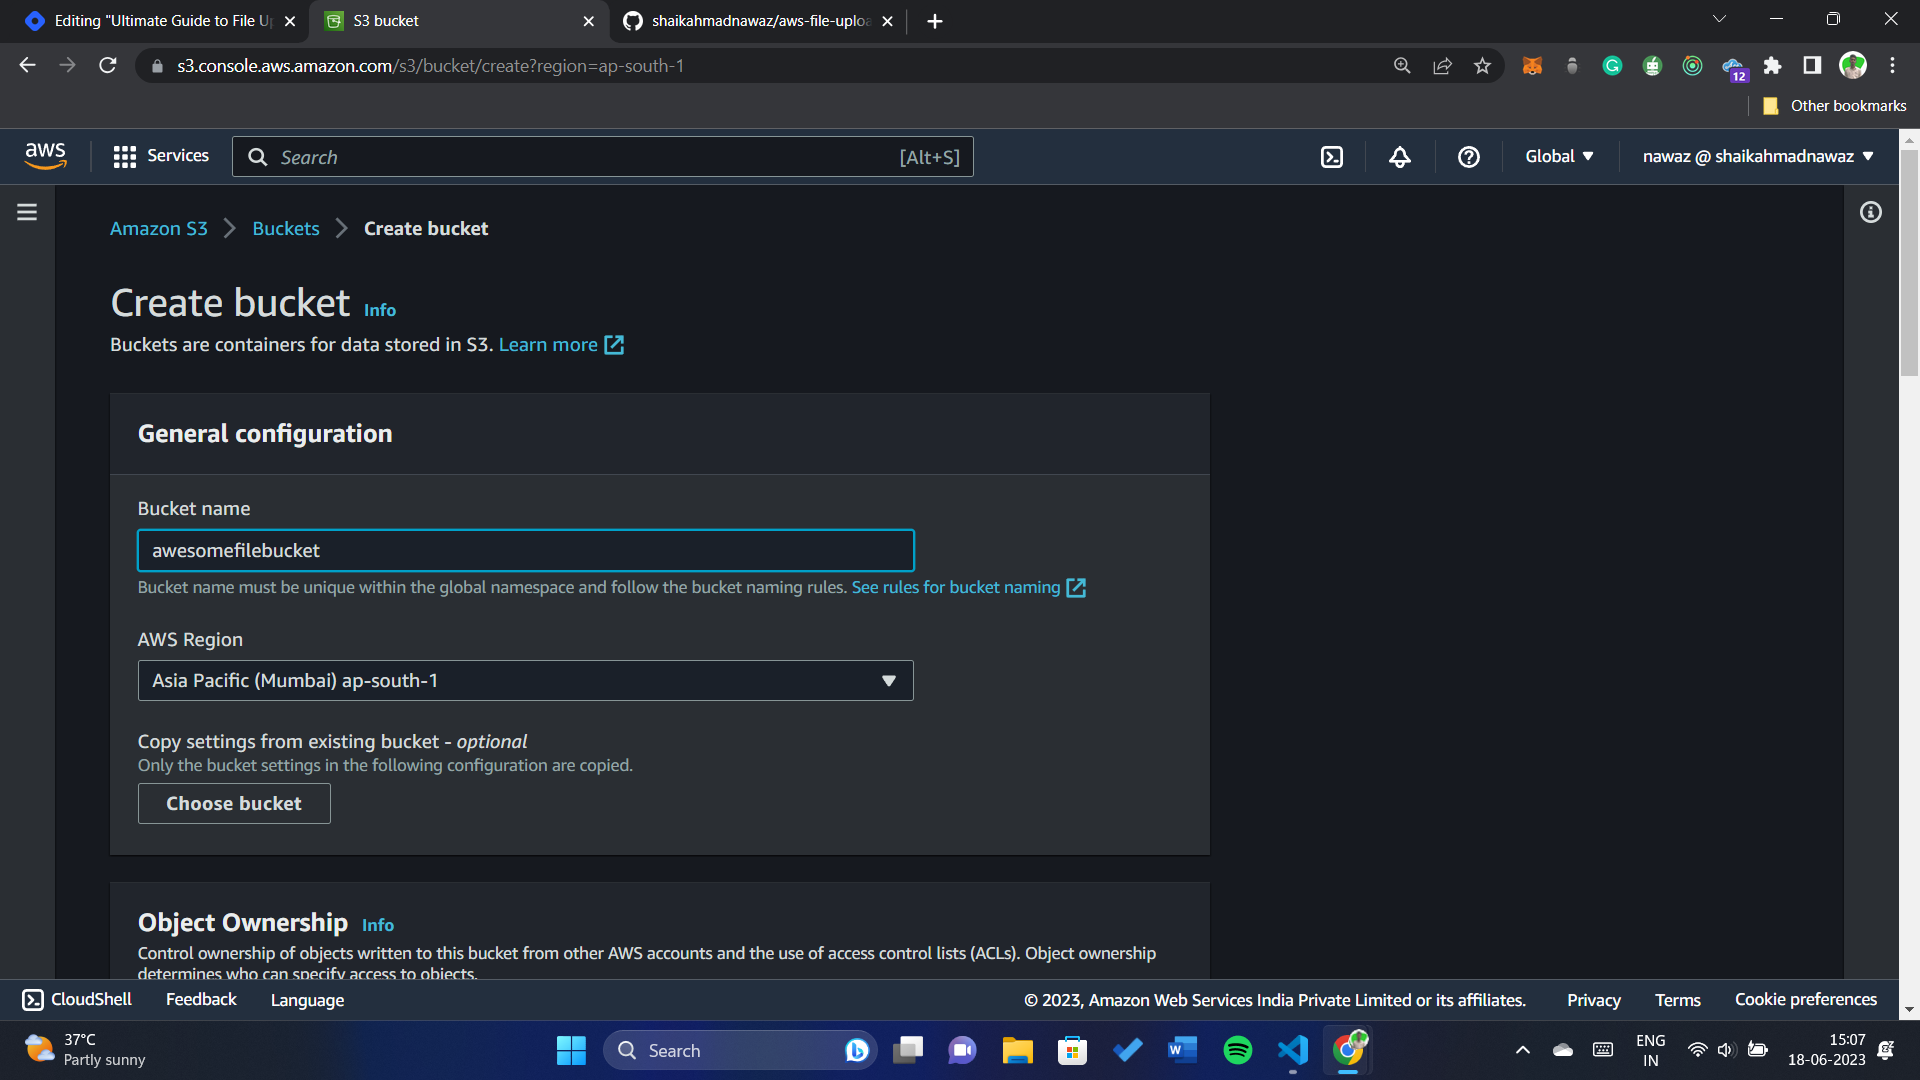
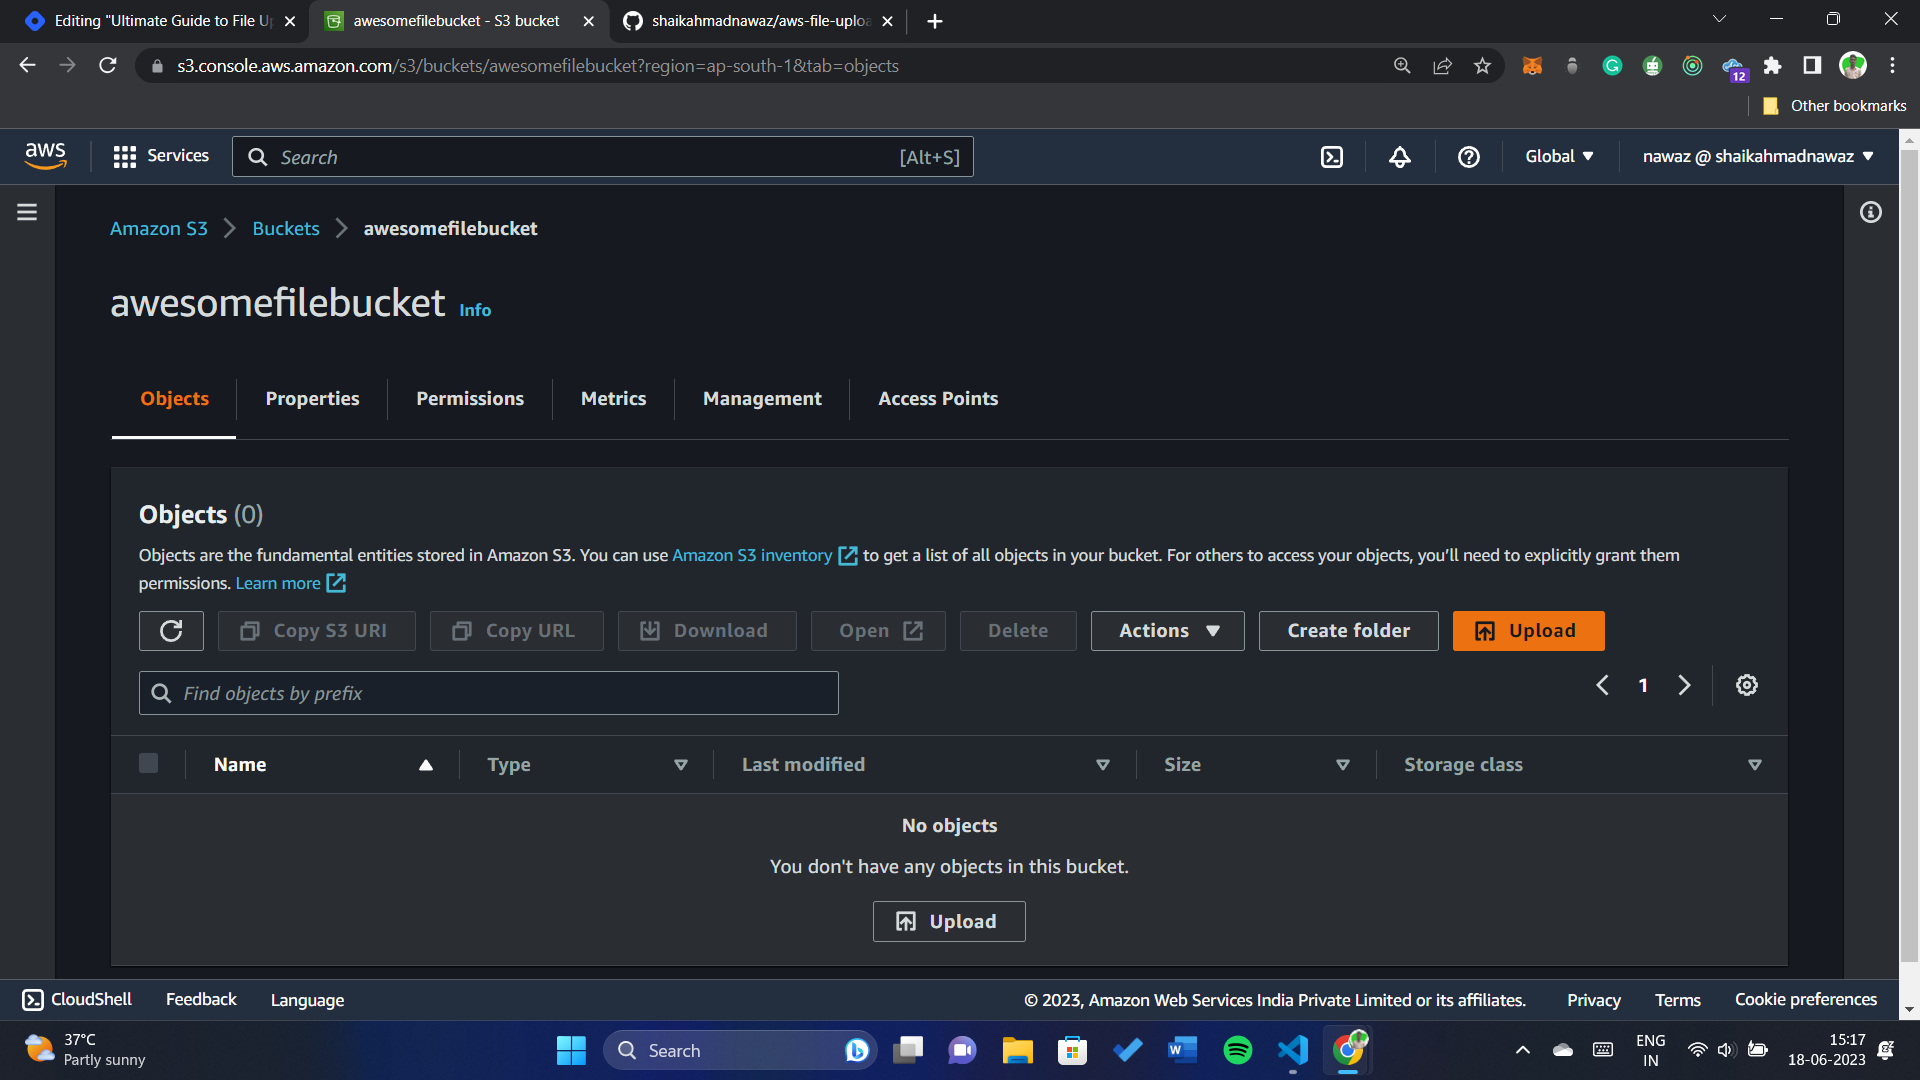
An AWS account with access to S3.

Allow public access and apply this bucket policy:
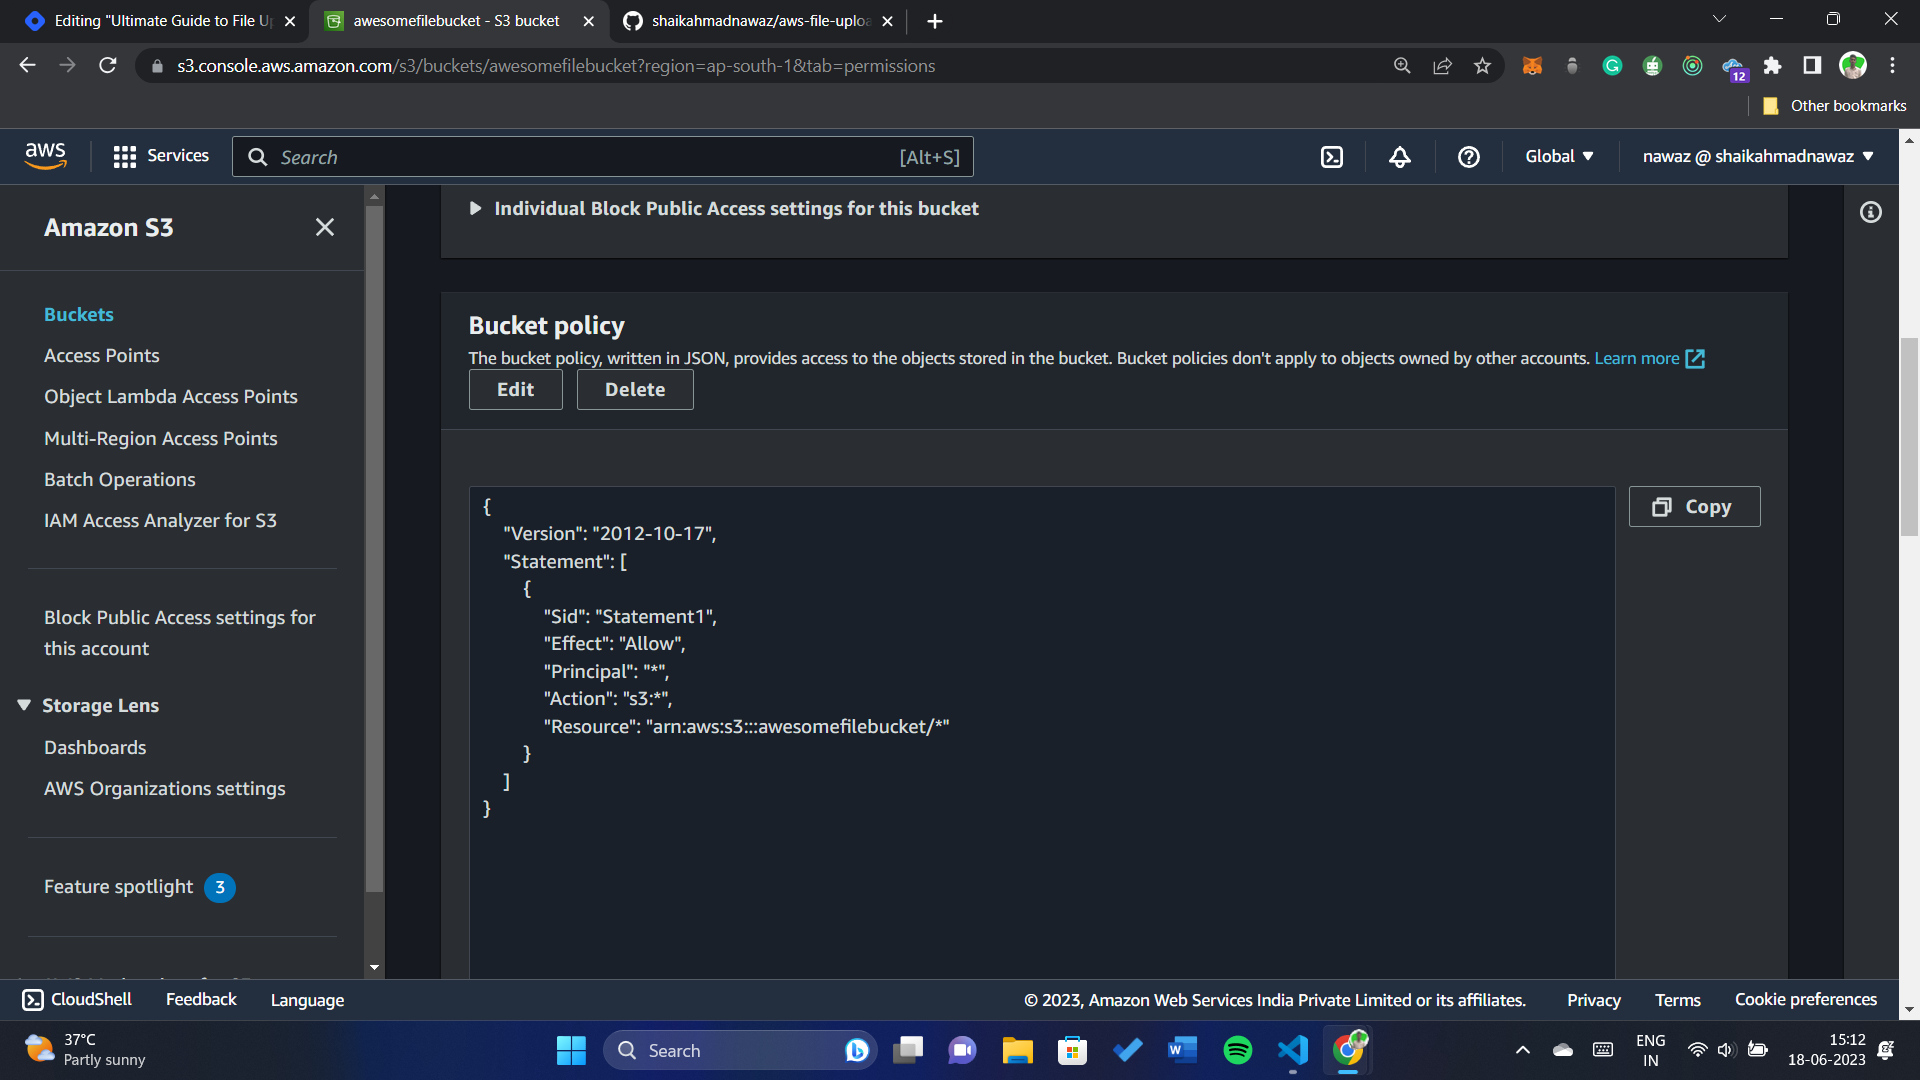
 {
     "Version": "2012-10-17",
     "Statement": [
         {
             "Sid": "Statement1",
             "Effect": "Allow",
             "Principal": "*",
             "Action": "s3:*",
             "Resource": "arn:aws:s3:::awesomefilebucket/*"
         }
     ]
 }
Setting Up the Backend
Start by setting up a new Node.js project with Express.
 npm init -y
 npm install express
Install the necessary dependencies, including the AWS SDK, using npm or yarn.
npm install multer @aws-sdk/client-s3 dotenv corsConfigure the AWS SDK with your AWS access key and secret key.
 const s3Client = new S3Client({
   region: process.env.AWS_ACCOUNT_REGION,
   credentials: {
     accessKeyId: process.env.AWS_ACCOUNT_ACCESS_KEY,
     secretAccessKey: process.env.AWS_ACCOUNT_SECRET_ACCESS_KEY,
   },
 });
Implement the backend API routes for handling file upload and download.
 app.post("/api/upload", upload.single("file"), async (req, res) => {
   try {
     const file = req.file;

     const contentType = file.mimetype;

     const params = {
       Bucket: process.env.AWS_BUCKET_NAME,
       Key: file.originalname,
       Body: file.buffer,
       ContentType: contentType,
     };

     const response = await s3Client.send(new PutObjectCommand(params));
     console.log("File uploaded to S3:", response);

     const fileUrl = `https://${process.env.AWS_BUCKET_NAME}.s3.amazonaws.com/${file.originalname}`;

     res.status(200).json({ fileUrl });
   } catch (error) {
     console.error("Failed to upload file to S3:", error);
     res.status(500).json({ error: "Failed to upload file to S3" });
   }
 });
Use the AWS SDK to interact with S3, including uploading and downloading files.
Test the backend API using tools like Postman or Thunder Client.
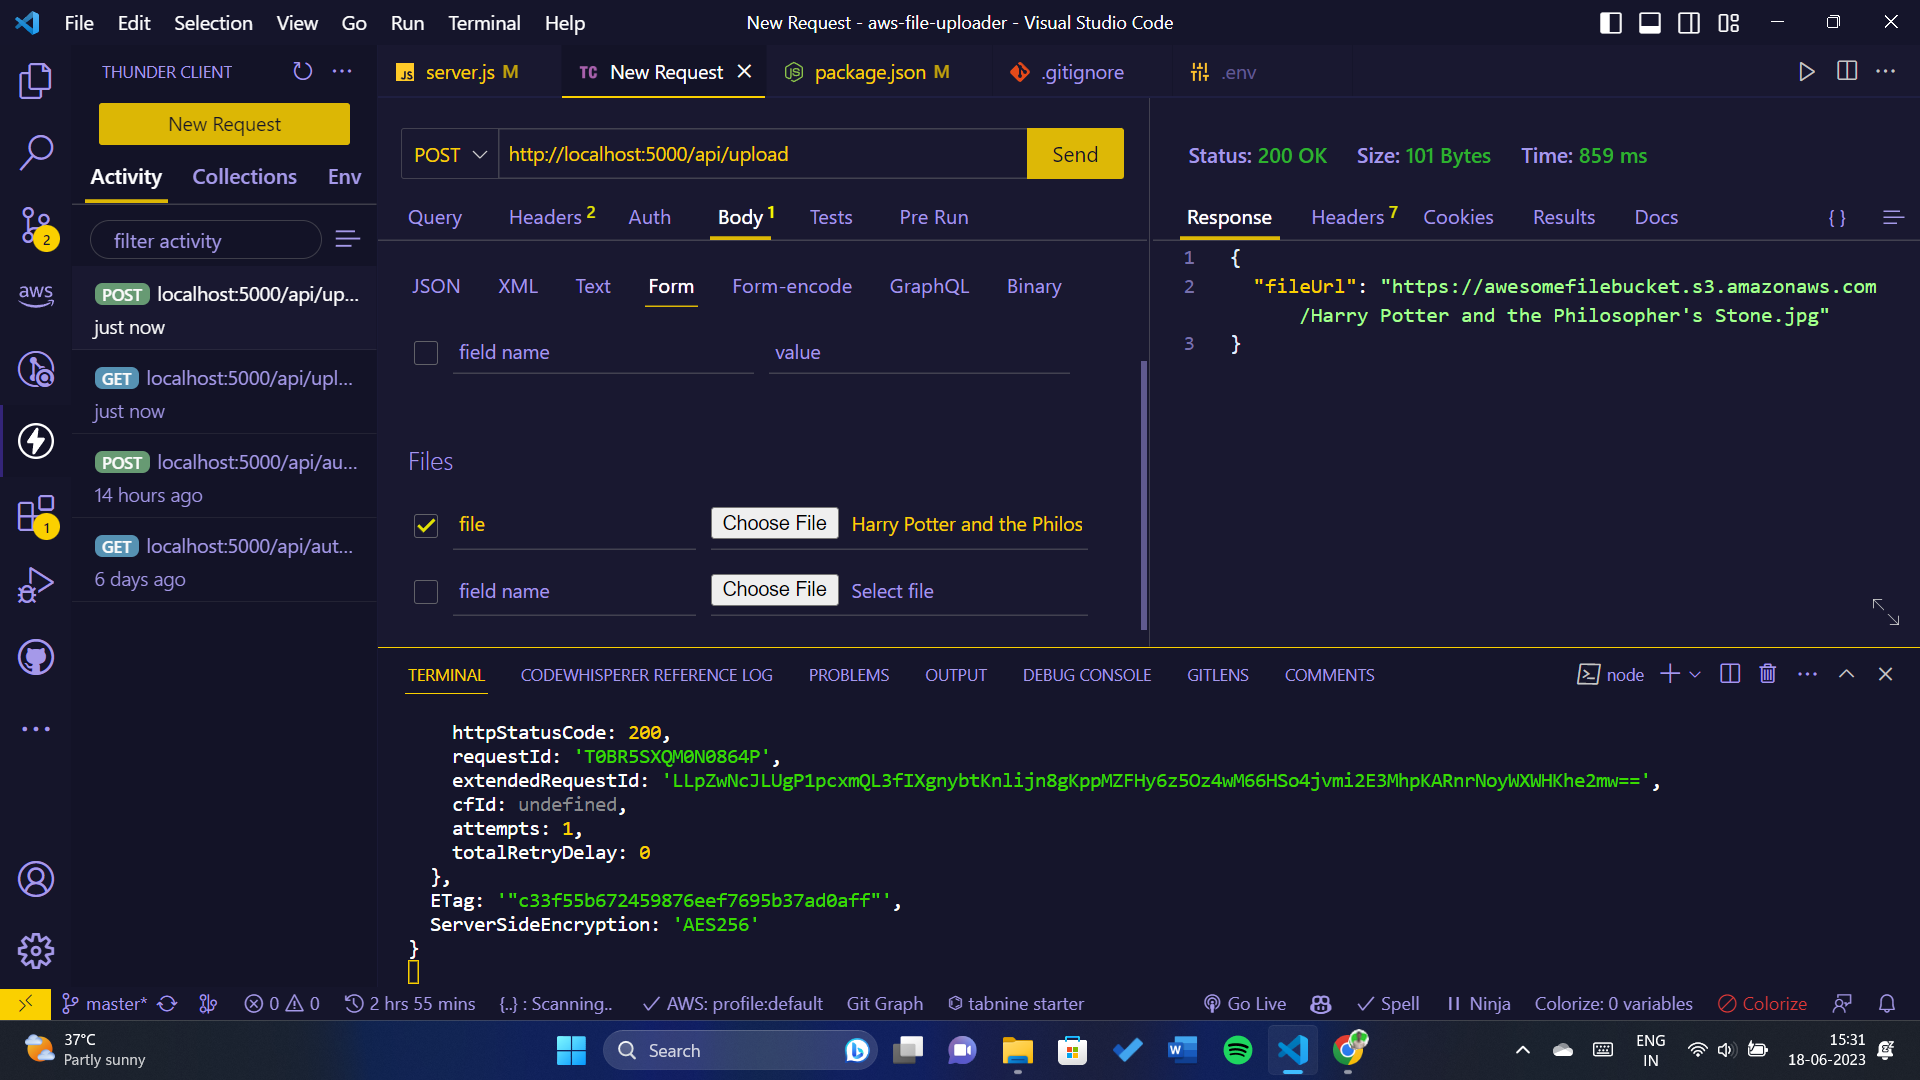
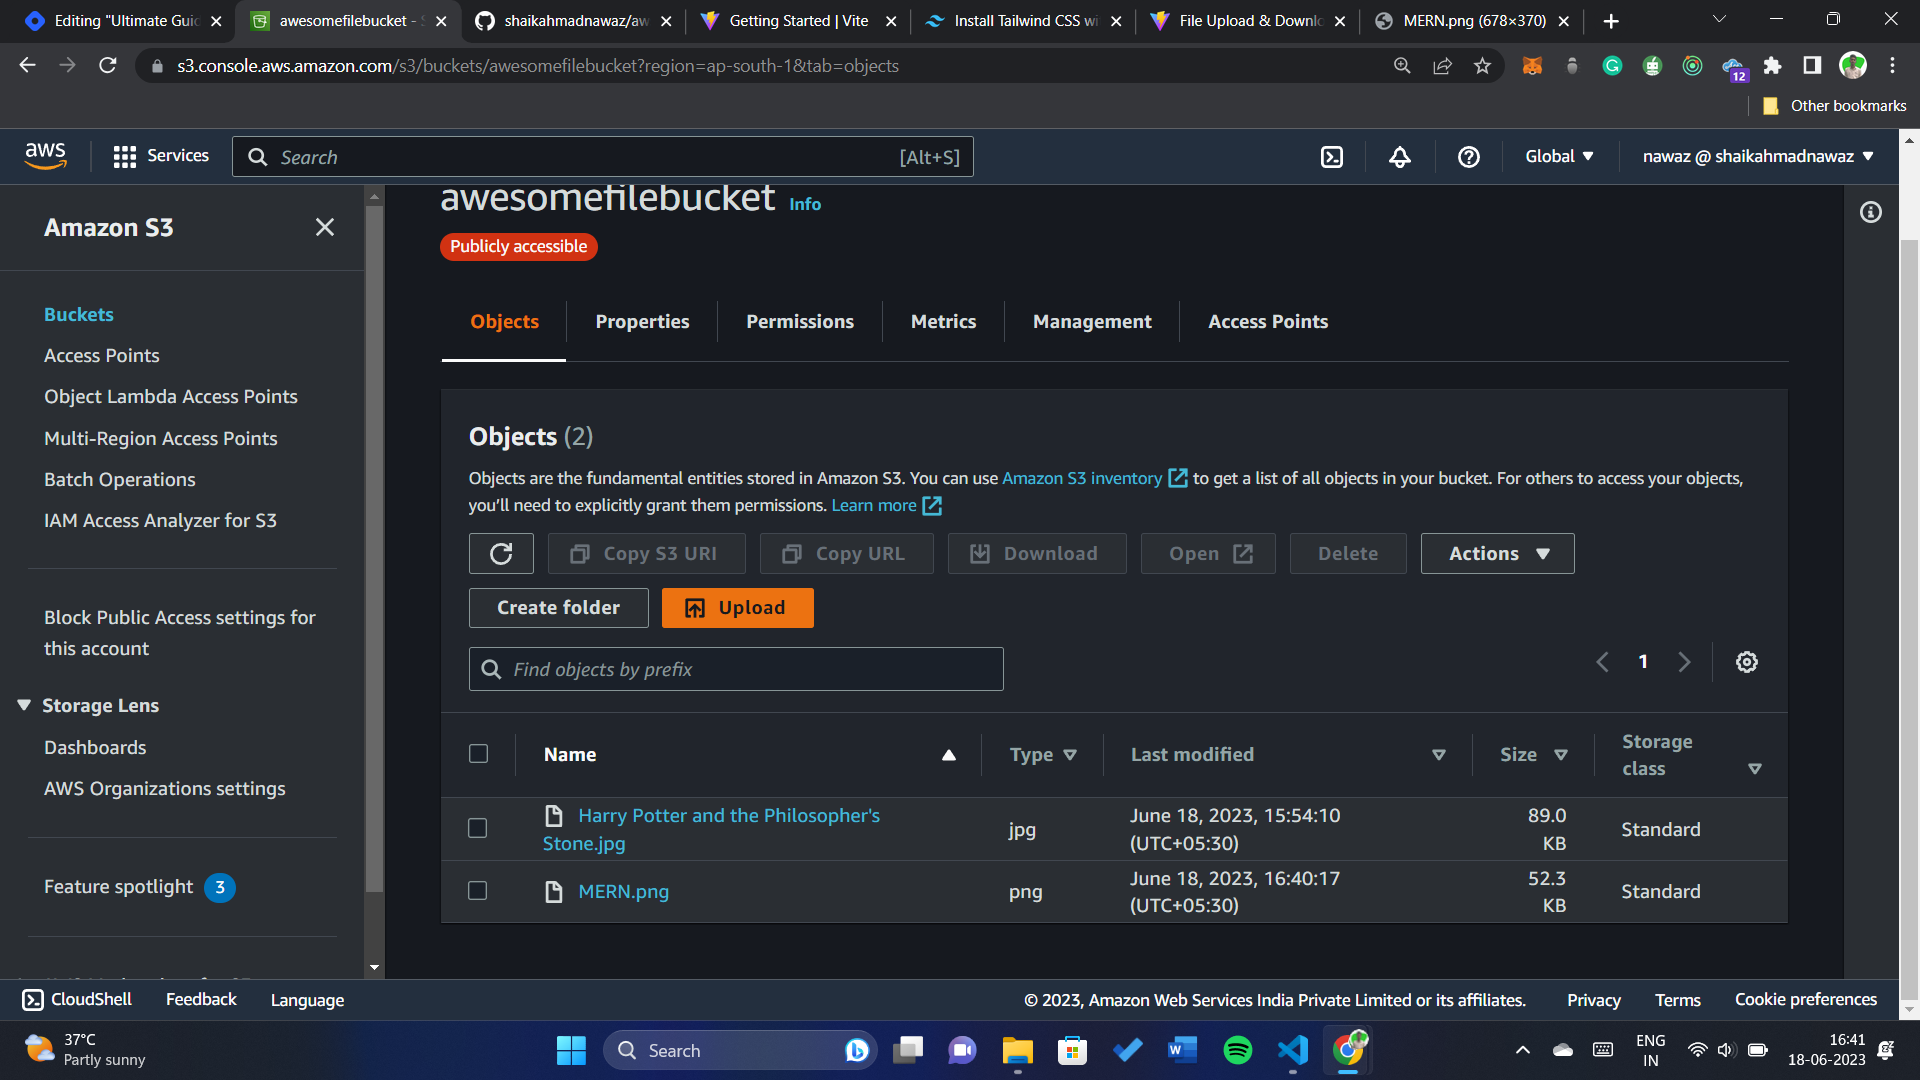
The file has been uploaded and this is the URL: https://awesomefilebucket.s3.ap-south-1.amazonaws.com/Harry+Potter+and+the+Philosopher's+Stone.jpg
Certainly! Here's the complete code for the backend:
server.js
import express from "express";
import multer from "multer";
import { S3Client, PutObjectCommand } from "@aws-sdk/client-s3";
import dotenv from "dotenv";
import cors from "cors";
dotenv.config();

const app = express();
const port = process.env.PORT || 5000;

// Enable CORS
app.use(cors());

// Parse JSON request bodies
app.use(express.json());

// Create an S3 client
const s3Client = new S3Client({
  region: process.env.AWS_ACCOUNT_REGION,
  credentials: {
    accessKeyId: process.env.AWS_ACCOUNT_ACCESS_KEY,
    secretAccessKey: process.env.AWS_ACCOUNT_SECRET_ACCESS_KEY,
  },
});

// Configure multer for file uploads
const storage = multer.memoryStorage();
const upload = multer({
  storage,
  limits: {
    fileSize: 25 * 1024 * 1024, // 25MB in bytes
  },
});

app.post("/api/upload", upload.single("file"), async (req, res) => {
  try {
    const file = req.file;

    const contentType = file.mimetype;

    const params = {
      Bucket: process.env.AWS_BUCKET_NAME,
      Key: file.originalname,
      Body: file.buffer,
      ContentType: contentType,
    };

    const response = await s3Client.send(new PutObjectCommand(params));
    console.log("File uploaded to S3:", response);

    const fileUrl = `https://${process.env.AWS_BUCKET_NAME}.s3.amazonaws.com/${file.originalname}`;

    res.status(200).json({ fileUrl });
  } catch (error) {
    console.error("Failed to upload file to S3:", error);
    res.status(500).json({ error: "Failed to upload file to S3" });
  }
});

app.listen(port, () => {
  console.log(`Server started on port ${port}`);
});
Building the Frontend
Create a new React project:
npm create vite@latest ./Install Axios for making HTTP requests:
npm install axiosStart the React server:
npm run dev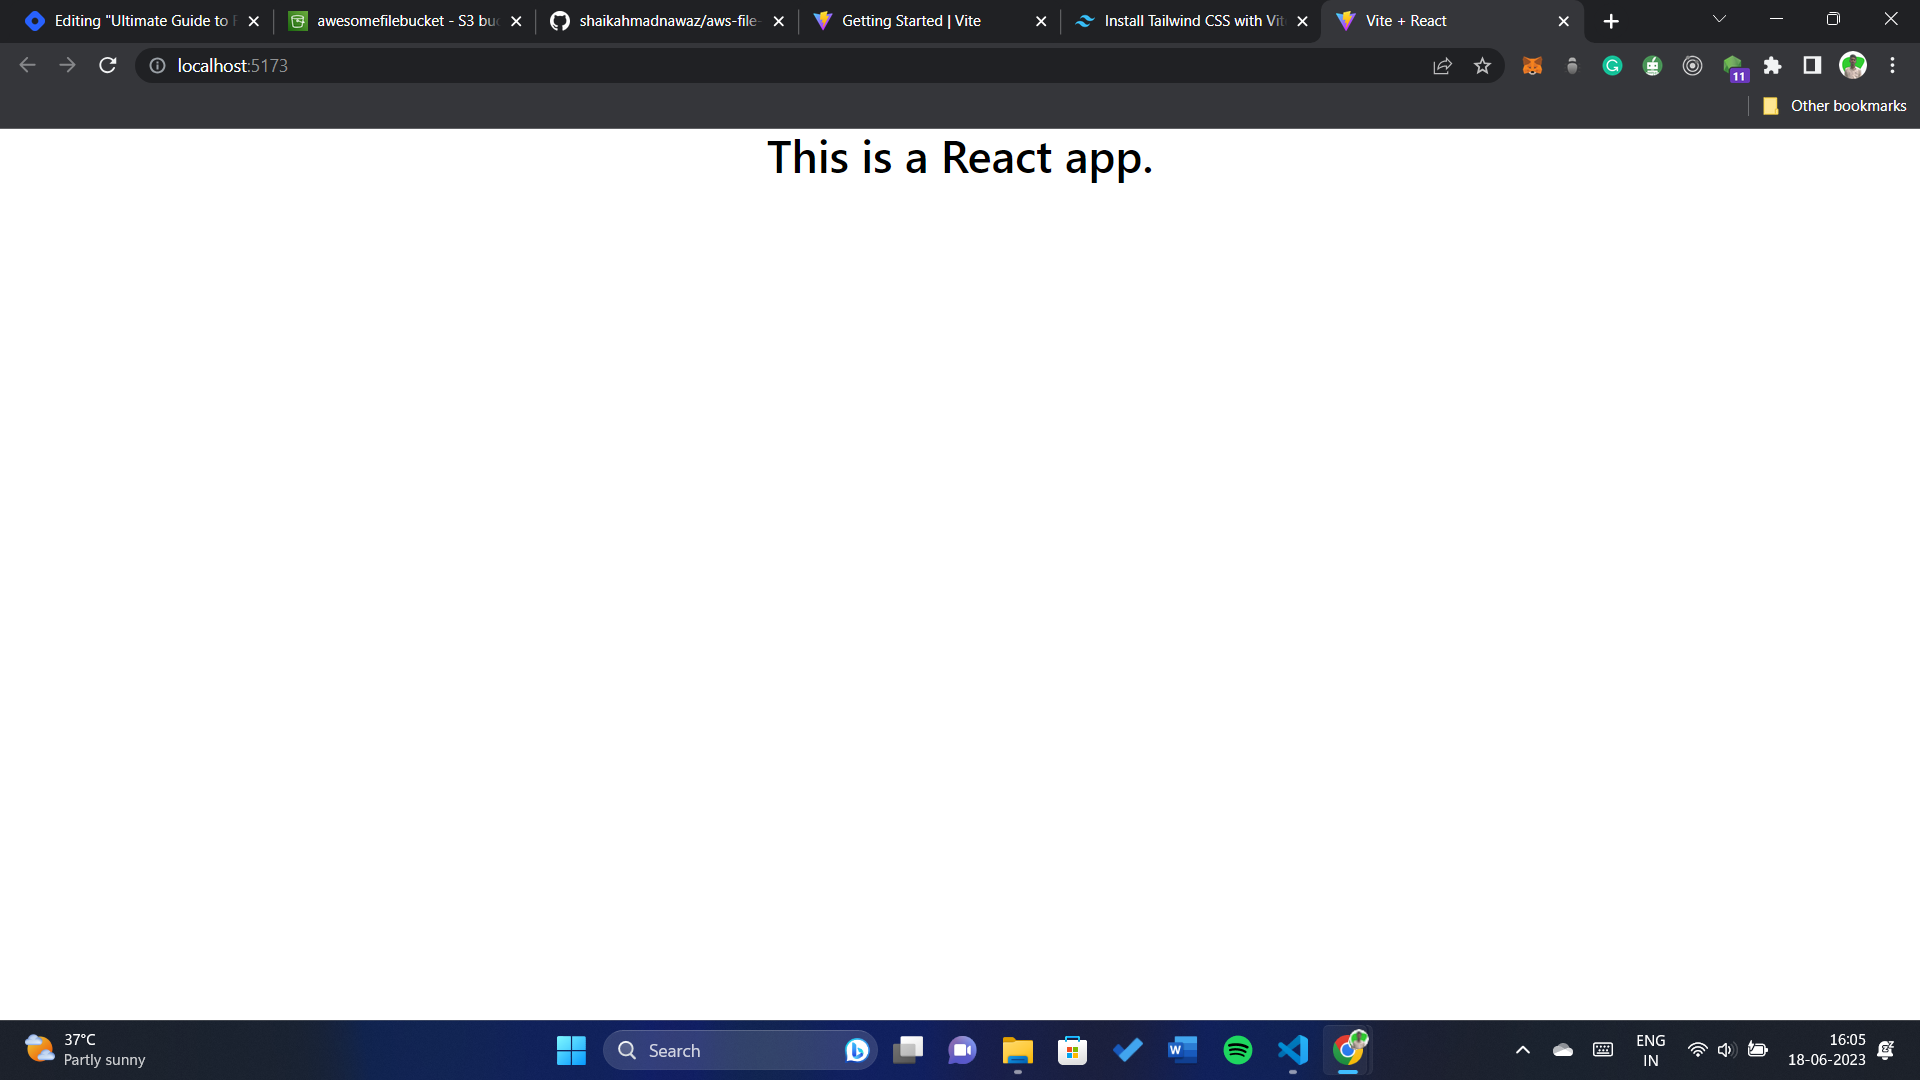
Certainly! Here's the complete code for the frontend:
App.js
import { useState } from "react";
import axios from "axios";
function App() {
const [selectedFile, setSelectedFile] = useState(null);
const [uploadedFileUrl, setUploadedFileUrl] = useState("");
const handleFileChange = (event) => {
setSelectedFile(event.target.files[0]);
};
const handleUpload = async () => {
try {
const formData = new FormData();
formData.append("file", selectedFile);
const response = await axios.post(
"http://localhost:5000/api/upload",
formData,
{
headers: {
"Content-Type": "multipart/form-data",
},
}
);
setUploadedFileUrl(response.data.fileUrl);
} catch (error) {
console.error("Failed to upload file:", error);
}
};
const handleDownload = () => {
if (uploadedFileUrl) {
window.open(uploadedFileUrl, "_blank");
}
};
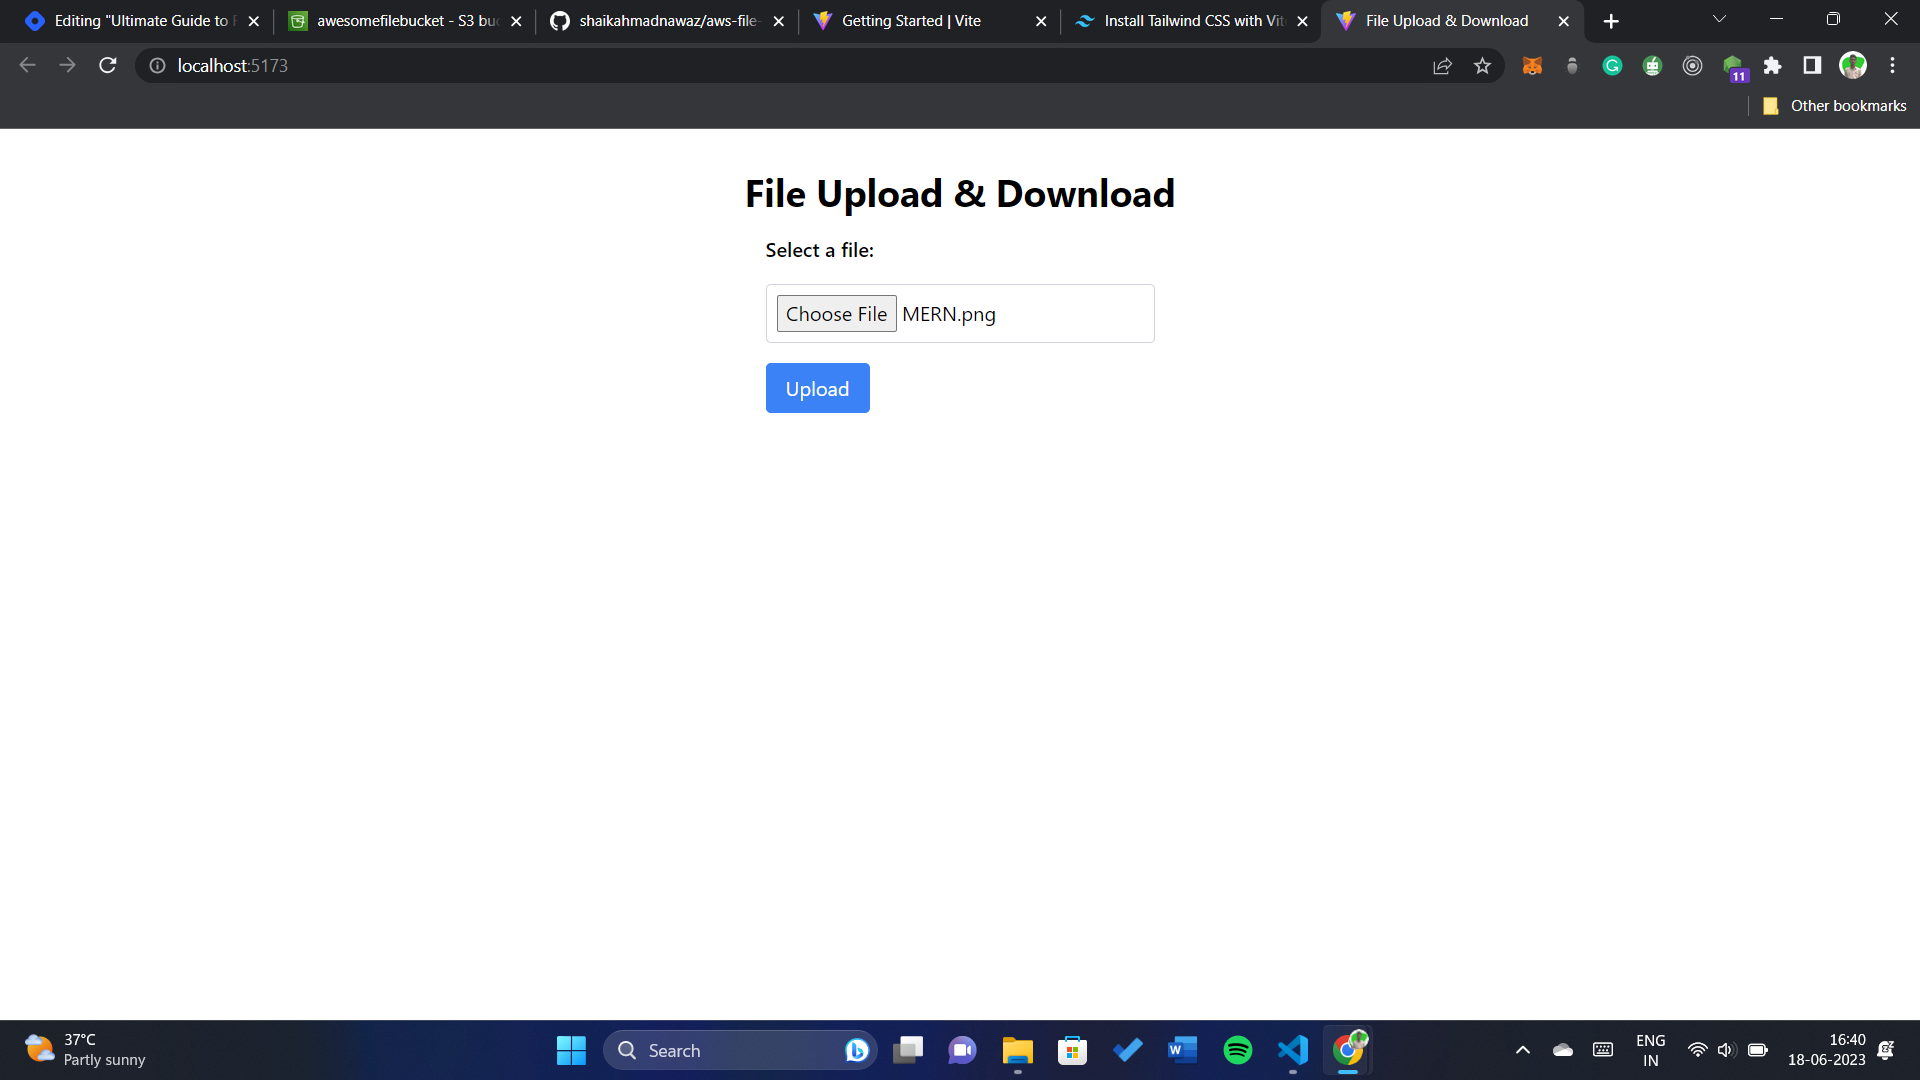
return (
<div className="mx-auto flex flex-col justify-center items-center mt-8">
<h1 className="text-3xl font-bold mb-4">File Upload & Download</h1>
<div className="flex flex-col items-start space-y-4">
<label htmlFor="fileInput" className="font-semibold">
Select a file:
</label>
<input
type="file"
id="fileInput"
className="border border-gray-300 rounded p-2"
onChange={handleFileChange}
/>
<button
className={`bg-blue-500 text-white py-2 px-4 rounded ${
!selectedFile ? "cursor-not-allowed" : ""
}`}
disabled={!selectedFile}
onClick={handleUpload}
>
Upload
</button>
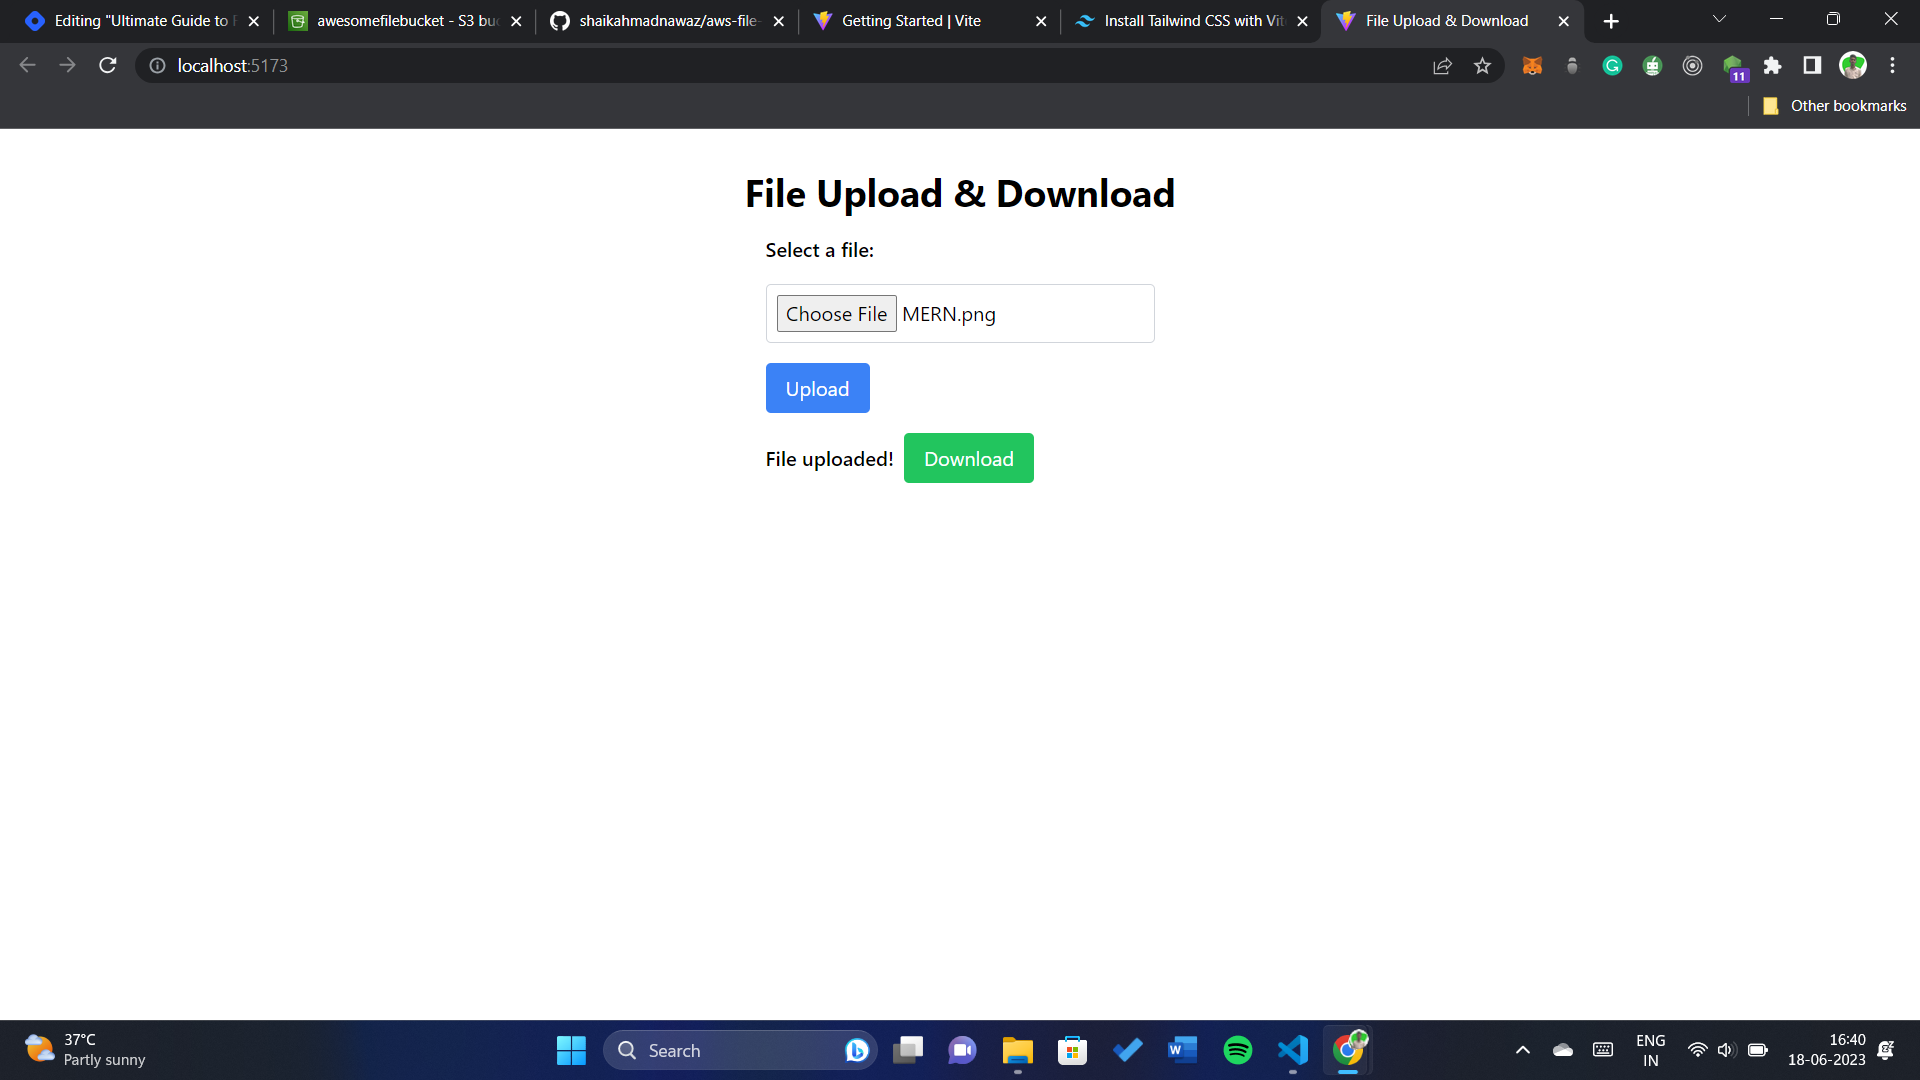
{uploadedFileUrl && (
<div className="flex items-center space-x-2">
<span className="font-semibold">File uploaded!</span>
<button
className="bg-green-500 text-white py-2 px-4 rounded"
onClick={handleDownload}
>
Download
</button>
</div>
)}
</div>
</div>
);
}
export default App;

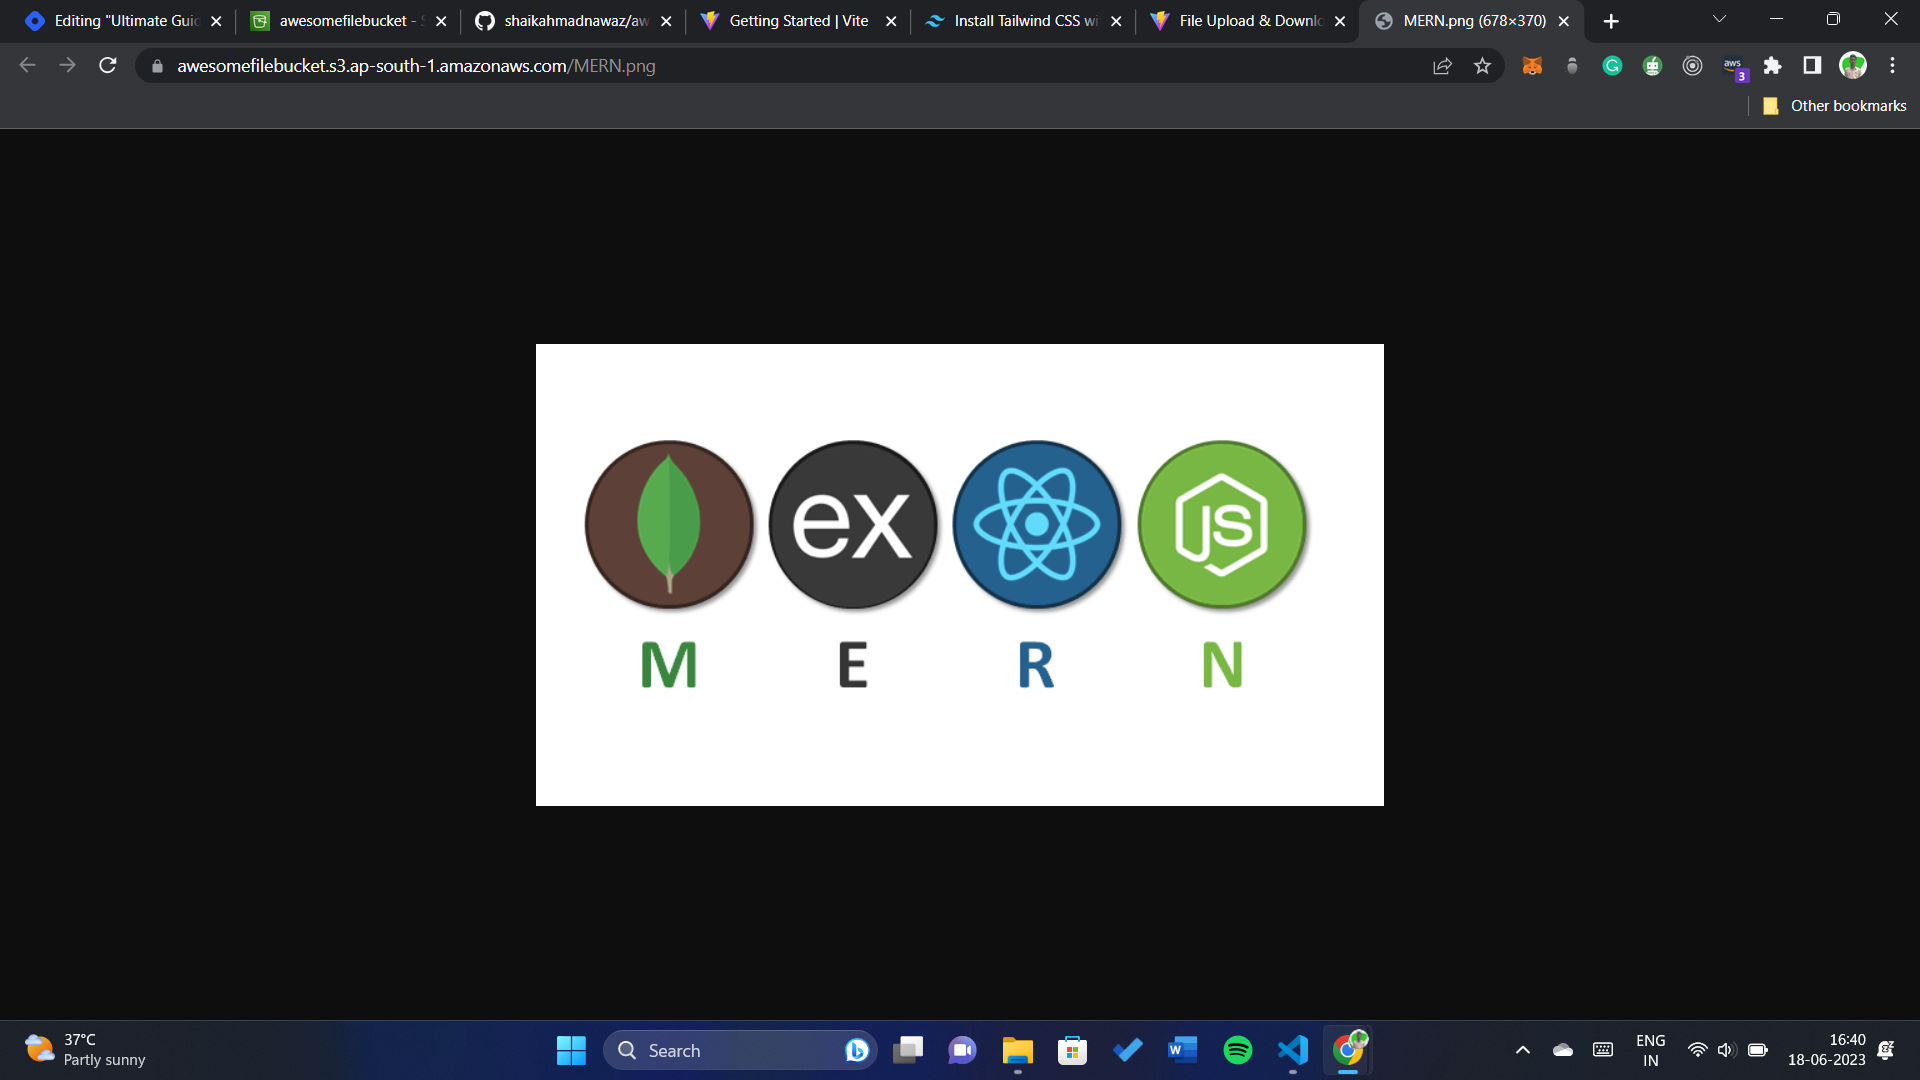
The file has been uploaded and this is the URL: https://awesomefilebucket.s3.ap-south-1.amazonaws.com/MERN.png
Conclusion
Congratulations! You have successfully built a file upload and download system using AWS S3, React, and Node.js. You've learned how to set up the backend API routes, interact with AWS S3 for file storage, and create a seamless frontend experience. This system can be further enhanced with additional features, such as file validation, security measures, and advanced error handling.
Feel free to explore and experiment with the code provided, adapting it to your specific project requirements. Now that you have a solid foundation, you can build upon this system to create more robust and feature-rich applications.
Happy coding!
For a detailed reference and access to the complete code implementation, you can visit my GitHub repository. The repository contains the backend and frontend code, along with instructions on setting up the project and running it locally.
And don't forget to connect with us on social media to stay updated with the latest tips, tutorials, and guides:
Connect with us on LinkedIn: shaikahmadnawaz
Follow us on Twitter: shaikahmadnawaz
We also encourage you to check out our GitHub repository for more code samples and projects:
- Explore our GitHub: shaikahmadnawaz


